Page 2 of 3
Re: 2014 350XCF build
Posted: Mon Jan 13, 2014 9:03 pm
by dirtyboy
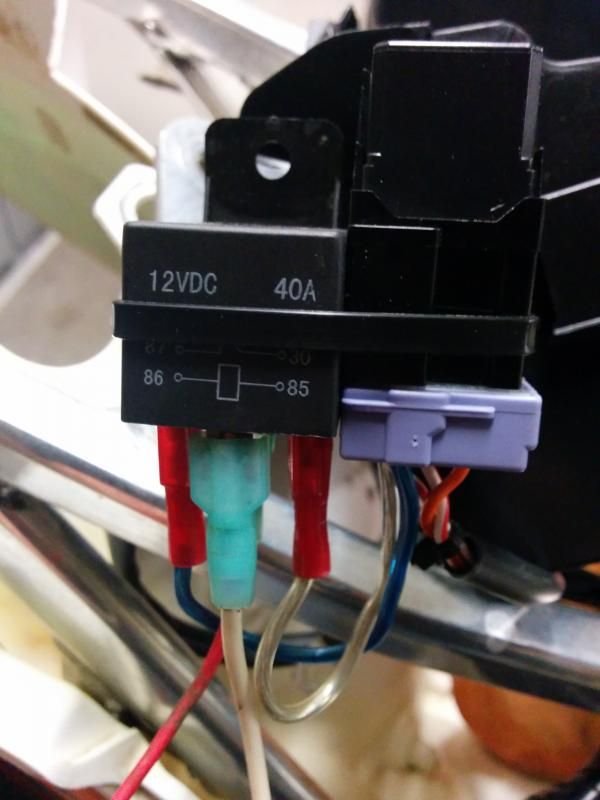
OK once the wire is wrapped around the connector, insert the connector back into the white plastic piece. Make sure it goes in with the original orientation. When the insulation from the wire touches the white plastic, the jewelry screwdriver helps to get it inside the plastic so that you can insert the connector all the way. You should hear a faint click and be unable to pull the wire out if the plastic catch has engaged. Make sure the plastic catch has engaged or when you re-insert the relay the connector will push out and the connection will be poor.
Once both wires are hooked up, install the purple cover to its proper resting place.
Plug the relay back in making sure it's engaged properly with the catches.
Plug in the relay and zip tie the 2 relays together:
Next I apply some black electrical tape to hold the relays together and stop them from vibrating.
Install the relays back on the battery box using the original rubber mount.
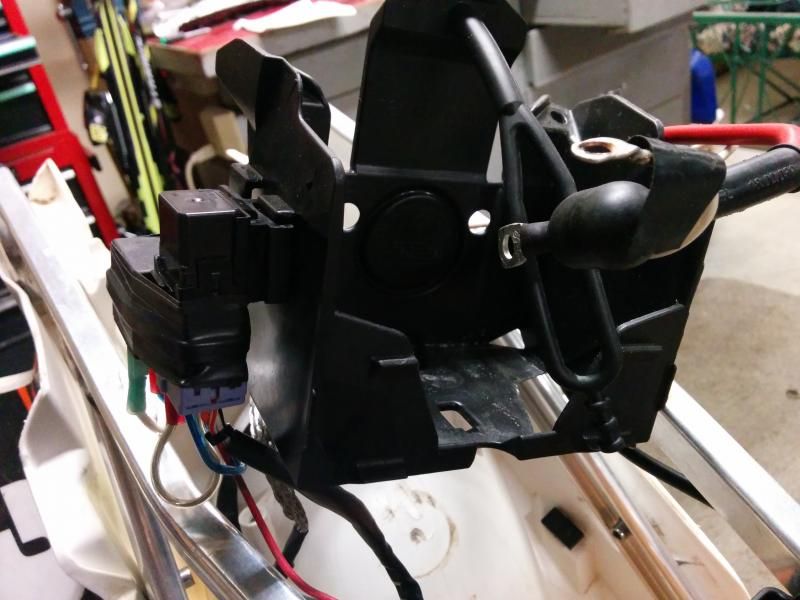
Install the battery box, running the oem and the white wire behind the battery box and over to the positive side. The white wire will be connected directly to the battery. I would recommend a fuse installed between the battery positive and the relay (white wire). I will be doing that later but wanted to get this part mostly complete with the pictures to explain the main part of the relay.
The red wire will be routed along the other wiring and zip tied in place. It will go under the gas tank and forward to supply power.
You can see that there is enough room for the second relay without any issue.

Re: 2014 350XCF build
Posted: Mon Jan 13, 2014 9:03 pm
by dirtyboy
reserved
Re: 2014 350XCF build
Posted: Mon Jan 13, 2014 9:04 pm
by dirtyboy
reserved
Re: 2014 350XCF build
Posted: Tue Jan 14, 2014 9:26 am
by axel99
Nice write up dave on the Relay. I would recommend a small dab of solder on the wrapped connections to improve reliability (too much solder and you may have difficulty inserting the female pin back into the socket) . Easy to remove the solder connection latter. If the connection becomes inttermittent it will cause relay chatter (on/off cycles) that will burn up the 40amp realy and leave you without switched power for you accessories or worse.

Re: 2014 350XCF build
Posted: Tue Jan 14, 2014 12:01 pm
by dirtyboy
Soldering is a good thing to add. I've done that on many occasions in the past, especially on grip warmers

Re: 2014 350XCF build
Posted: Tue Jan 14, 2014 3:24 pm
by rogue
When can I drop off my bike?

Re: 2014 350XCF build
Posted: Tue Jan 14, 2014 4:53 pm
by malcolmzilla
Good call on the relays, why running vs run switch on? Might be nice to have the light on with the engine off, likes lets say you umm stall, like I did going down swanees at night?


I need to add rewiring my aux circuits using a relay to my list for my non kicker Berg, pulled the battery flat leaving the grips on on a dual sport ride...
Tuned in for more tech.

Re: 2014 350XCF build
Posted: Tue Jan 14, 2014 11:40 pm
by dirtyboy
I use other battery powered lights when night riding. I don't want any reason to have a dead battery on a motorcycle without a kick starter.
Re: 2014 350XCF build
Posted: Sat Jan 25, 2014 5:38 pm
by dirtyboy
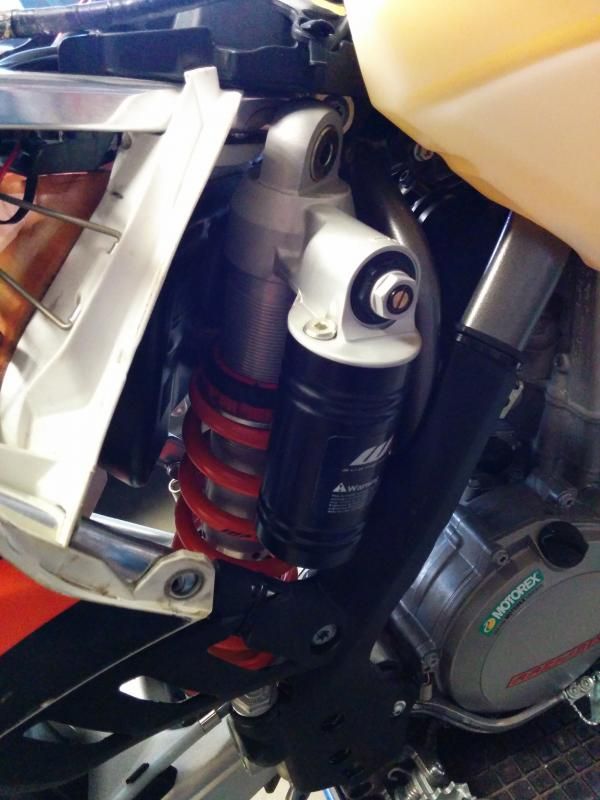
Next up is the bottom end.

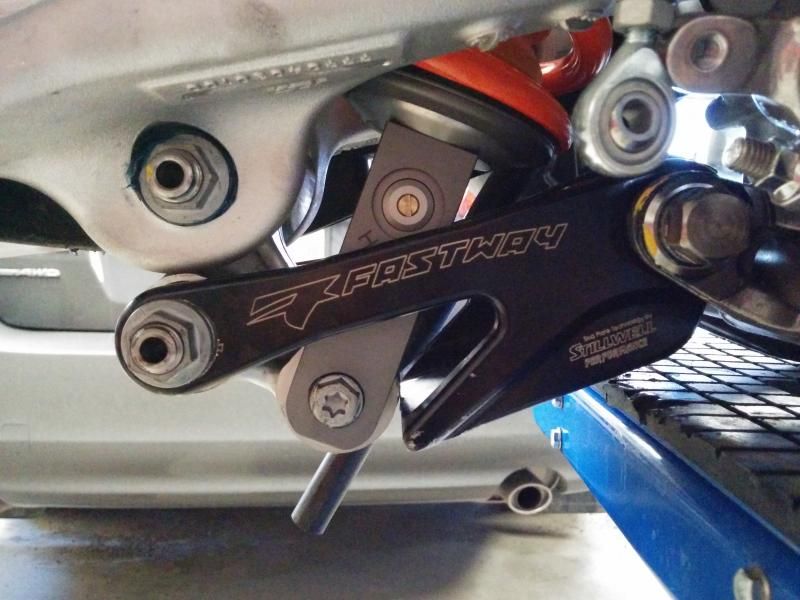
When removing the main dog bones from the frame be cautious. The left side nut is covered with loctite and it is loose to the frame holder. I usually get a screwdriver in there to brace it and hold the nut against the frame so it doesn't slip. The pnematic air gun helped to remove it but I think a torch on the loctite would have been a good idea also.
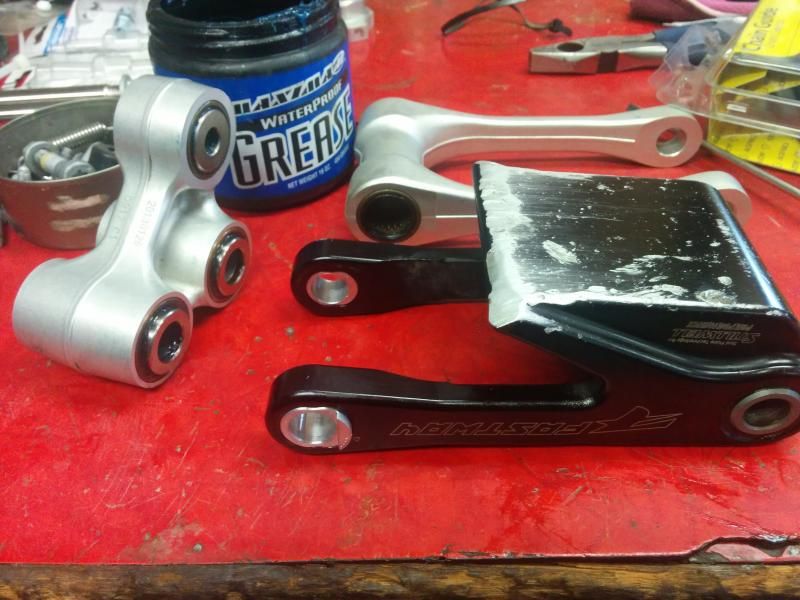
Removed the linkage and checked out the grease situation.

I decided to add more....

They are all greased with my favorite Maxima waterproof grease and ready to go back on. I thought I'd show the bottom of the shock's skid plate. It works incredibly well as demonstrated by the looks of the bottom. I got one of the first ones released so it doesn't have the extra material on it.
Getting it back together
Re: 2014 350XCF build
Posted: Sat Jan 25, 2014 5:44 pm
by dirtyboy
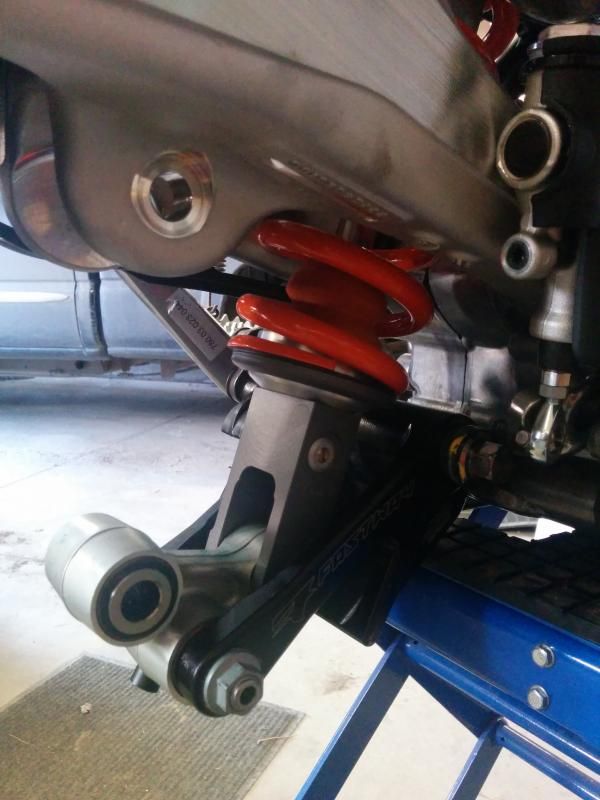
I always have issues getting the shock out. I finally read the manual it says to remove the pipe and pull the shock out the side. It's actually pretty easy. The linkage has to be released at the bottom also but then it comes out pretty easy. Just like this:
I topped up the NI in the shock and then greased the top bearing in the shock with extreme pressure molybdenum grease:
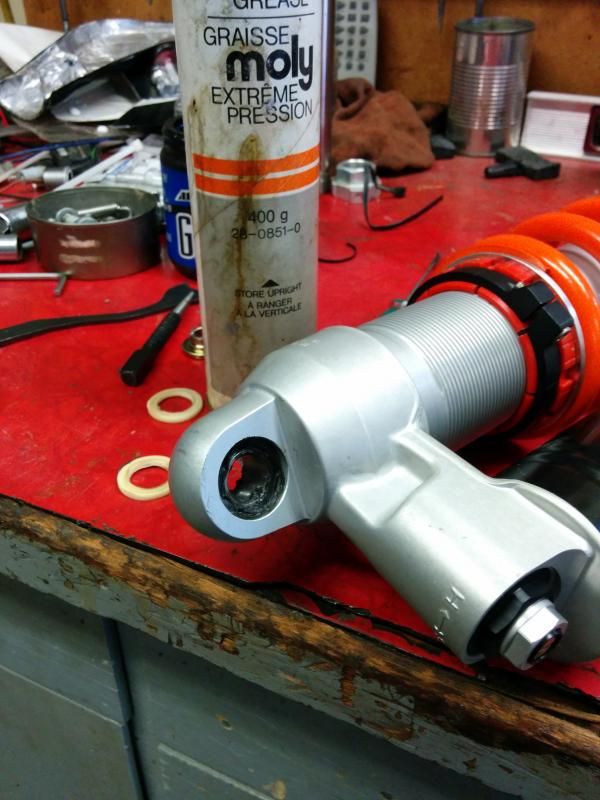
I got it all back together, ready for further work in the future:
I'm doing this so slow it's making me feel weird.

It usually gets done in a week.
Re: 2014 350XCF build
Posted: Fri Feb 21, 2014 9:55 pm
by dirtyboy
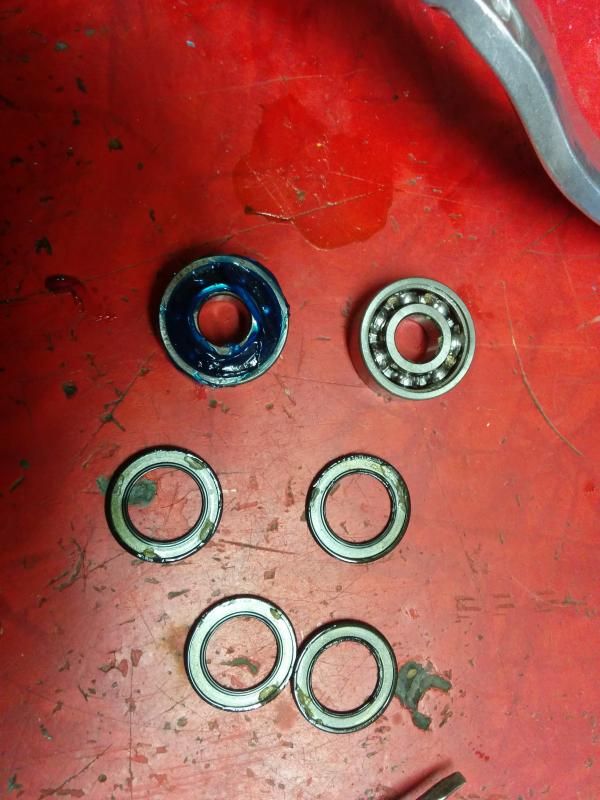
I like to do the bearings in the brake lever also, so that I don't have to replace those bad boys later.
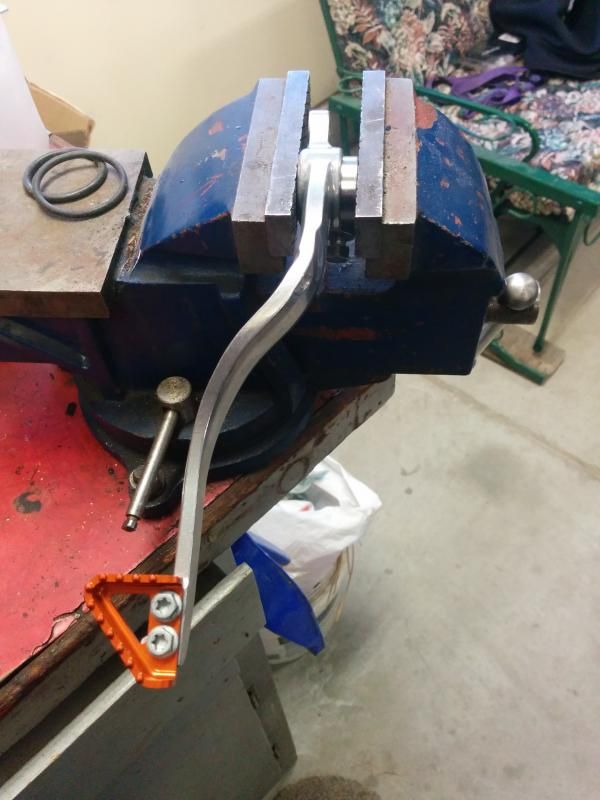
Use a couple of sockets the right size to press the bearings out with the vise:
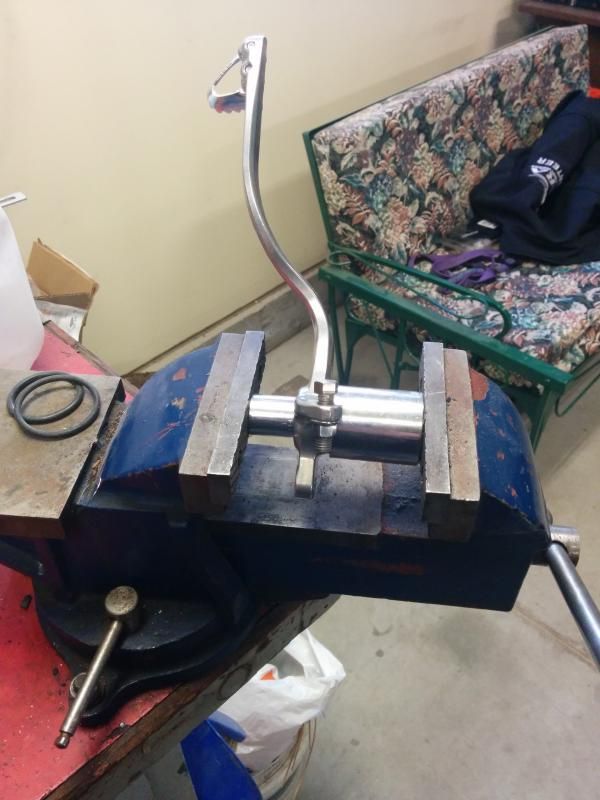
Can you tell which bearing has the added grease?
Putting it back together with the vise Just press the bearings in
Re: 2014 350XCF build
Posted: Sun Mar 23, 2014 6:35 pm
by dirtyboy
Many of you know that I have been using a Rekluse clutch cover for the last few years since they are so strong. Well this year I've gone the whole way. I installed a Rekluse CoreEXP 3.0 behind that clutch cover. (The kit comes with one also).
It has been 10 years since I used a Rekluse auto-clutch. These new clutches are not your Daddy's clutch. The new clutch rocks!
I still ride with the clutch lever but it makes it feel like I am a clutch wizard.
I've climbed hills that others struggled or couldn't make with this clutch with such ease to the point where I was so blown away that I thought I should write this up.
Thanks to Doug from Racing Unlimited for hooking me up with a great deal on the Rekluse and also sponsoring the RMDRA. If you want a Rekluse, call Doug (the ad is on this forum and our
partners page) for the best deal in town. I've known Doug for about 15 years and he is a super guy with the Rekluse business in the evenings. So don't be scared away by the grassroots business.
Re: 2014 350XCF build
Posted: Sun Mar 23, 2014 7:06 pm
by Dakota_c69
I can also recommend the Doug and Racing Unlimited. Great pricing and great service!
Re: 2014 350XCF build
Posted: Sun Mar 23, 2014 9:29 pm
by thirtyseven
People that use rekluses fall over a LOT.
Re: 2014 350XCF build
Posted: Mon Mar 24, 2014 12:10 am
by malcolmzilla
Nowhere did I see duct tape on it, must not see any bush miles...